Rubik's Cube Solving Robot
A robot that autonomously solves a Rubik's cube.
Background
As a kid, I was really into solving Rubik’s cubes. I was able to solve a 3x3x3 cube in about 15-20 seconds, and I collected various exotic cubes, such as a 7x7x7 cube and 12-sided “Megaminx” cube. Getting a robot to solve a Rubik’s cube in world-record level (human) times was too appealing to pass up.
This project was a great experience in designing and building a real robot from scratch. Most of my career has been spent developing machine learning (ML) systems for a variety of applications (including in robotics), which means most of my time is spent developing software rather than hardware. I took this opportunity to dive into electronics and hardware, which has ignited a newfound hobby in “full-stack” (hardware/software) robot development.
Demo
Let’s start with the demo. Here is a video of the robot solving a randomly scrambled Rubik’s cube.
Here’s an explanation of what you’re seeing.
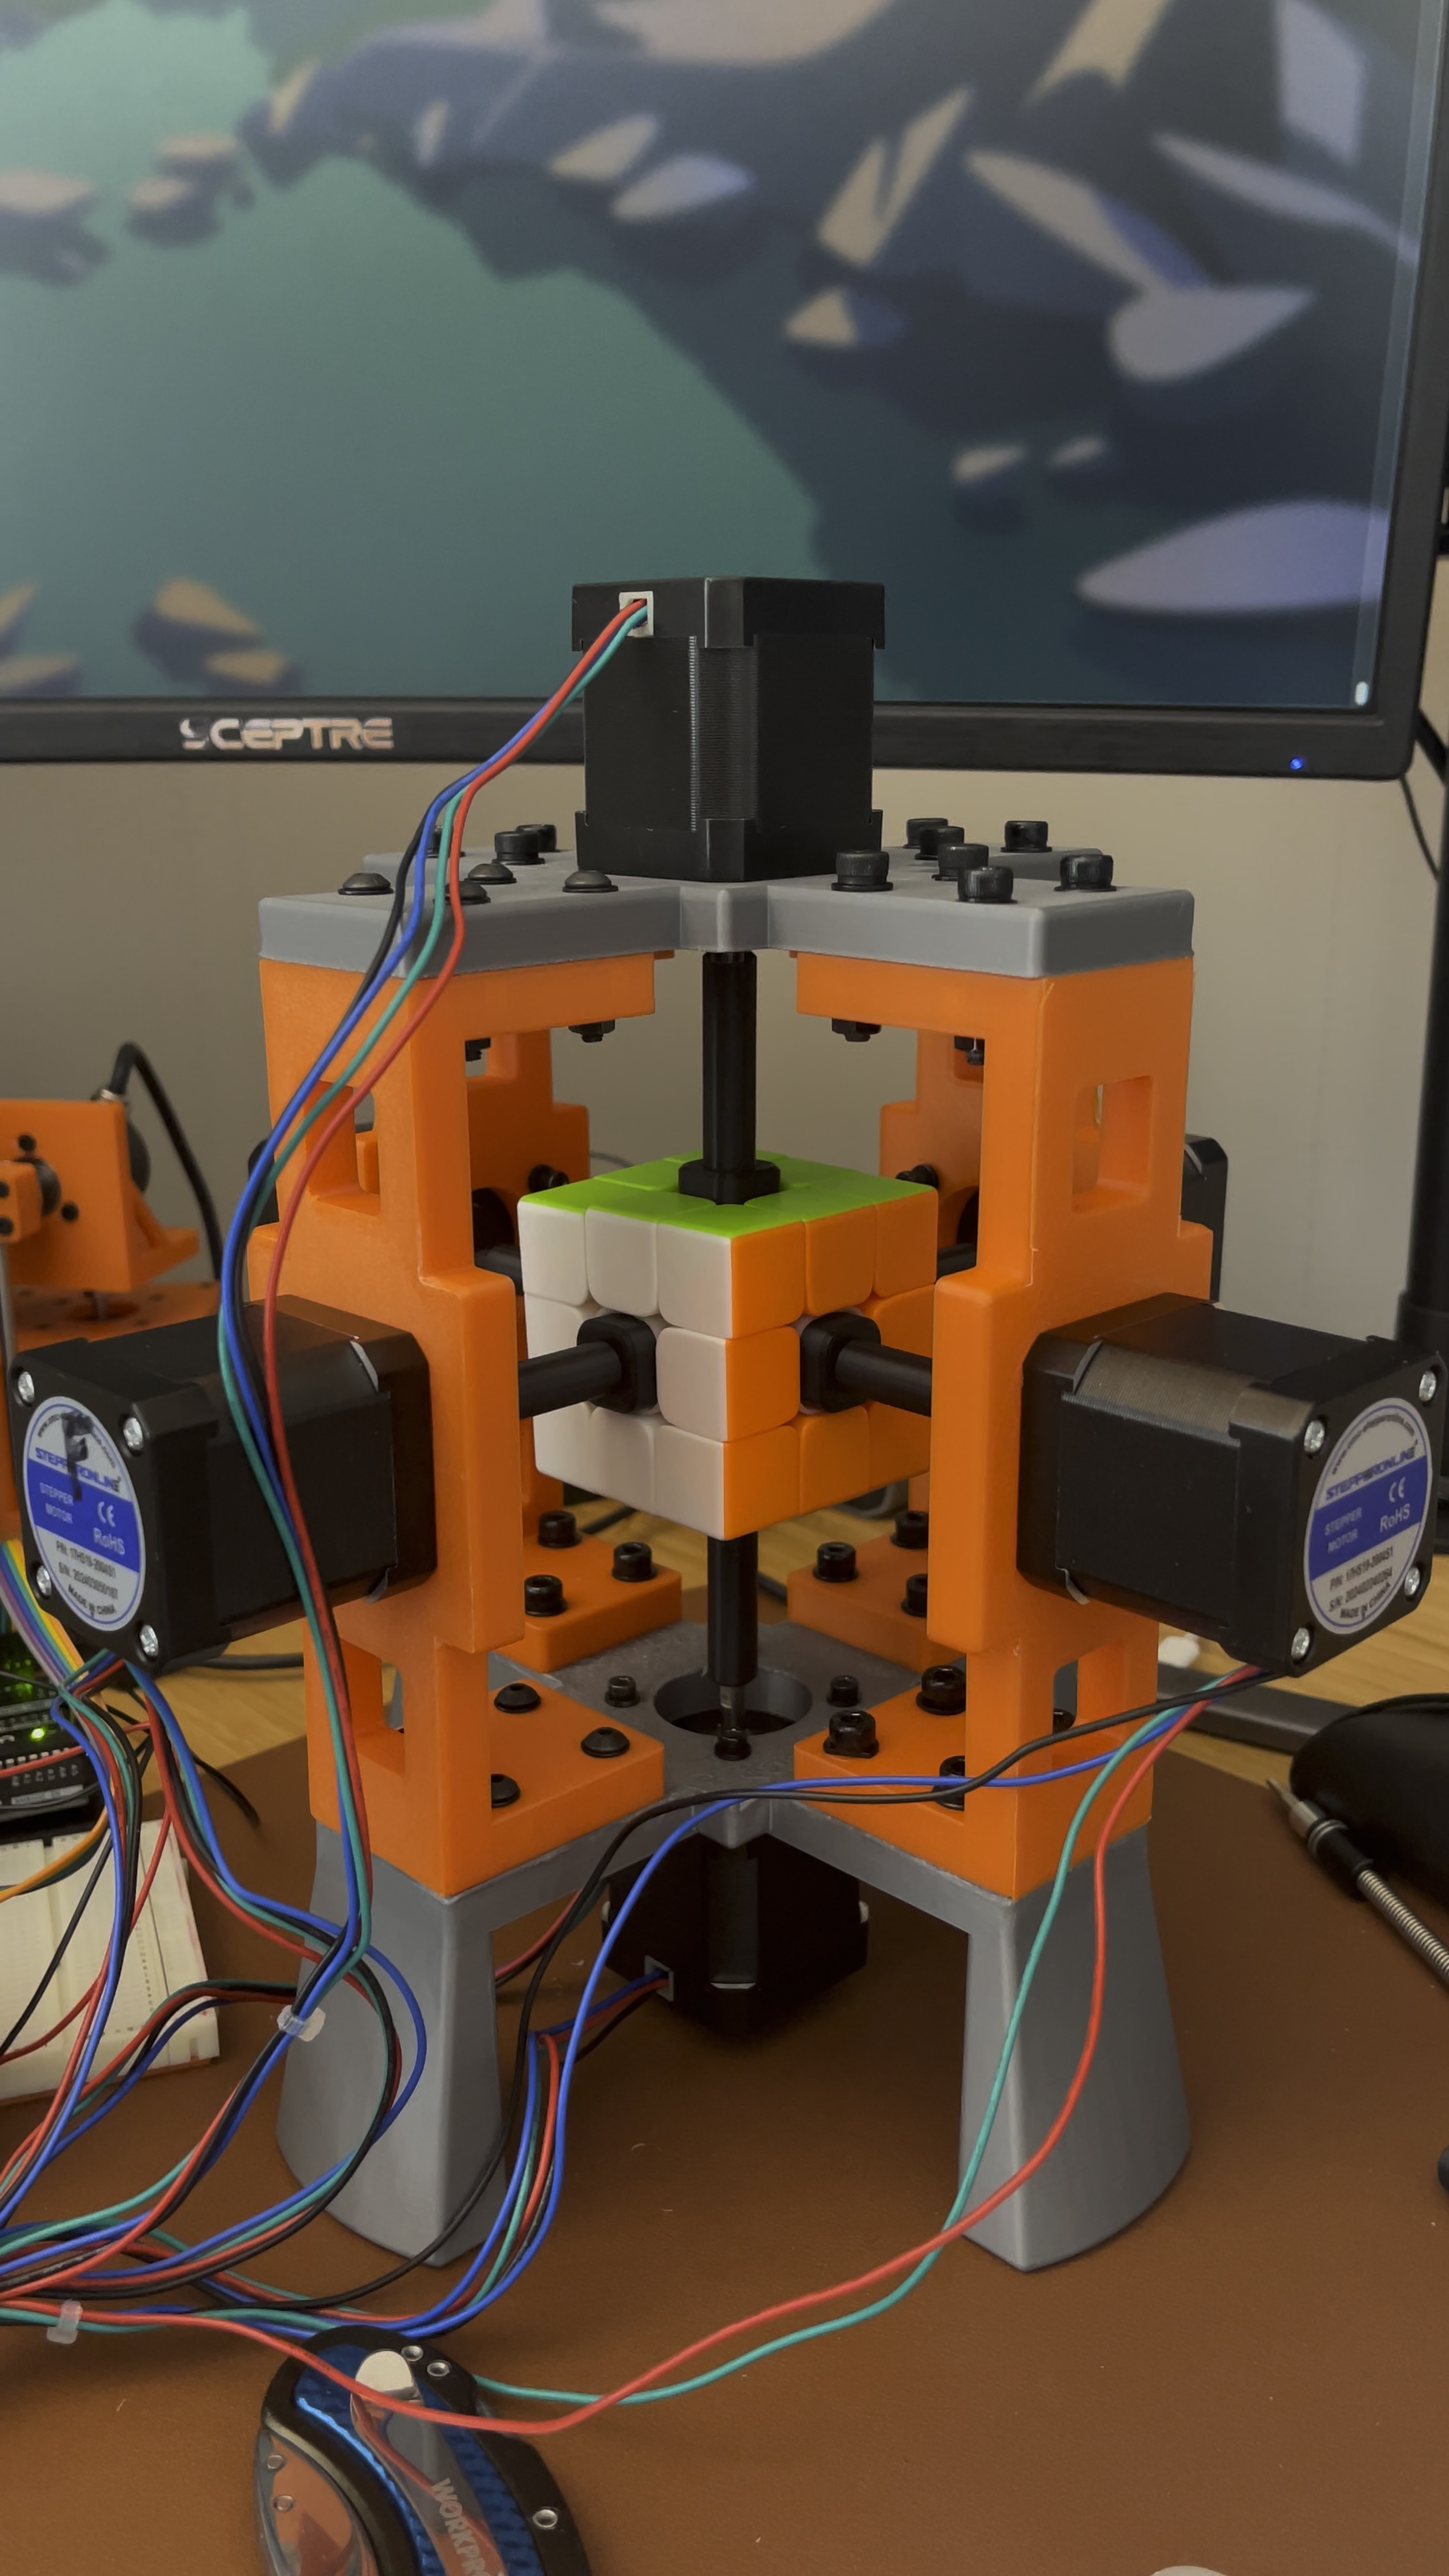
- Inspect: Initially the robot uses its onboard cameras/lights to perceive the cube. There are two cameras positioned at opposite corners of the cube which enables them to see the entire cube. However, the motor shafts block a large portion of the far side of each face, which necessitated rotating each face to better perceive the colors. Ultimately, the inspection phase returns the exact state of the cube (the color of each cubelet), which is used in the planning phase.
- Plan: Imperceptible in the video is the execution of the planning phase, which leverages Kociemba’s algorithm to plan a sequence of moves that solves the Rubik’s cube, given an initial state. This algorithm is incredibly fast, taking on the order of milliseconds to compute a near-optimal solution.
- Solve: Finally, the sequence of moves are sent to the robot for execution. The robot uses an Arduino microcontroller and 6x TMC2209 stepper drivers to execute the moves.
Lessons Learned
This project taught me many things, especially since this was one of my first hardware projects. Here I’ll summarize the most important lessons I will take away from this project.
- Importance of Camera/Lighting for Perception: While developing the robot, I initially ignored the perception problem and manually (and tediously) input the colors for every cubelet. Naively, I had thought that all I would have to do to autonomate this part is to slap a couple cameras on the robot and extract the pixel RGB values and be done with it. However, it turns out that robust color detection under varying external lighting conditions is harder than it first appears. I went through a few iterations of cameras and lighting until I was able to achieve fairly consistent images. Initially I used a simple HSV color range to classify pixel colors, but found that collecting labeled pixels and training a KNN classifier was much more robust. ML to the rescue!
- Open-Loop Stepper Motors and Power Electronics: Getting the robot to move each face precisely (either by 90 or 180 degrees at a time) is essential for being able to execute moves reliably. In my initial setup, I did not carefully measure the overall current requirements (especially during initial power up) and as a result observed rogue movements of the motors, causing the initial positions to be incorrect. I solved this by re-wiring the motors using appropriate gauge wires and power supplies, teaching me the importance of carefully adhering to electrical specs. Additionally, the stepper motors can jump slightly when being powered on if their start position is not exactly aligned with one of the physical “steps” of the motor. This can happen if the motors are manually moved or if the robot was powered off while holding a position that’s not aligned with a physical step due to micro-stepping in the controller. To solve this, I added a simple command line script to jog the motors by physical motor steps into the zero position.
Next Steps
This project got me really excited about building robots and I am already planning my next project. Stay tuned for updates!
Further Reading
The code for this project is available here.